How to Image a MacBook
Connect all the things.
Connect the MacBook to power and to the imaging network using the USB-C to USB/Ethernet adapter that lives in the laptop case with the MacBook.
At Indianapolis HQ, the USB-C to 2.5GbE adapters can be used for the network connection, but the adapter that lives with the MacBook should be connected to the laptop as well.
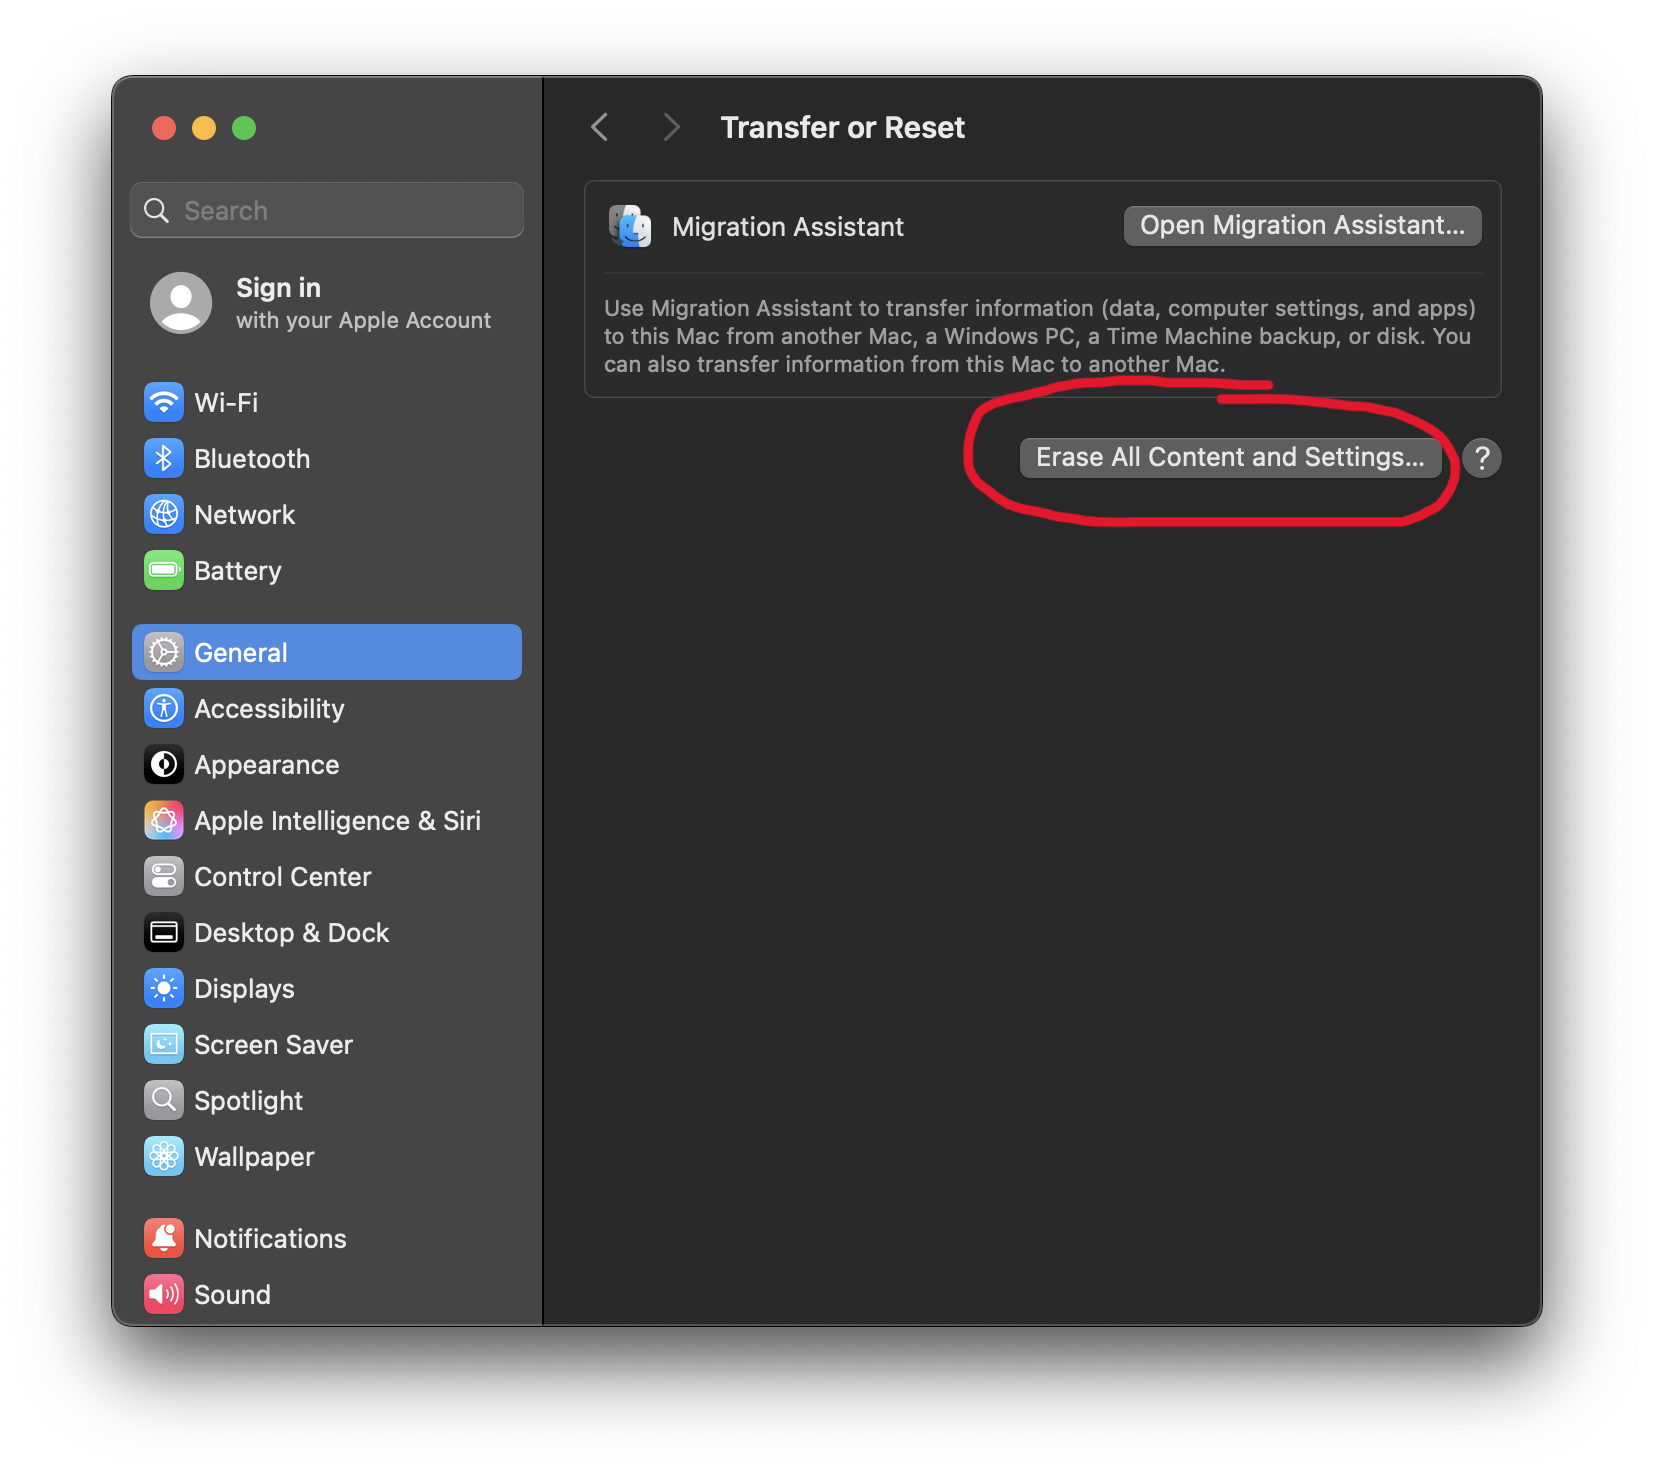
Erase All Content & Settings
Turn on the MacBook normally and sign in if it doesn't sign you in automatically. Go to System Settings, General (should be the default), scroll all the way down and click Transfer or Reset, and then click Erase All Content & Settings and confirm.
If you do not see this option in this location, please contact helpdesk@markeys.com for assistance. You may be running a different version of Mac OS that may require a different imaging process.
The Mac will reboot to an activation screen, then reboot again to normal "new Mac" setup.
Go partway through normal setup.
Skip this step for MacBooks that are owned by Main in R2.
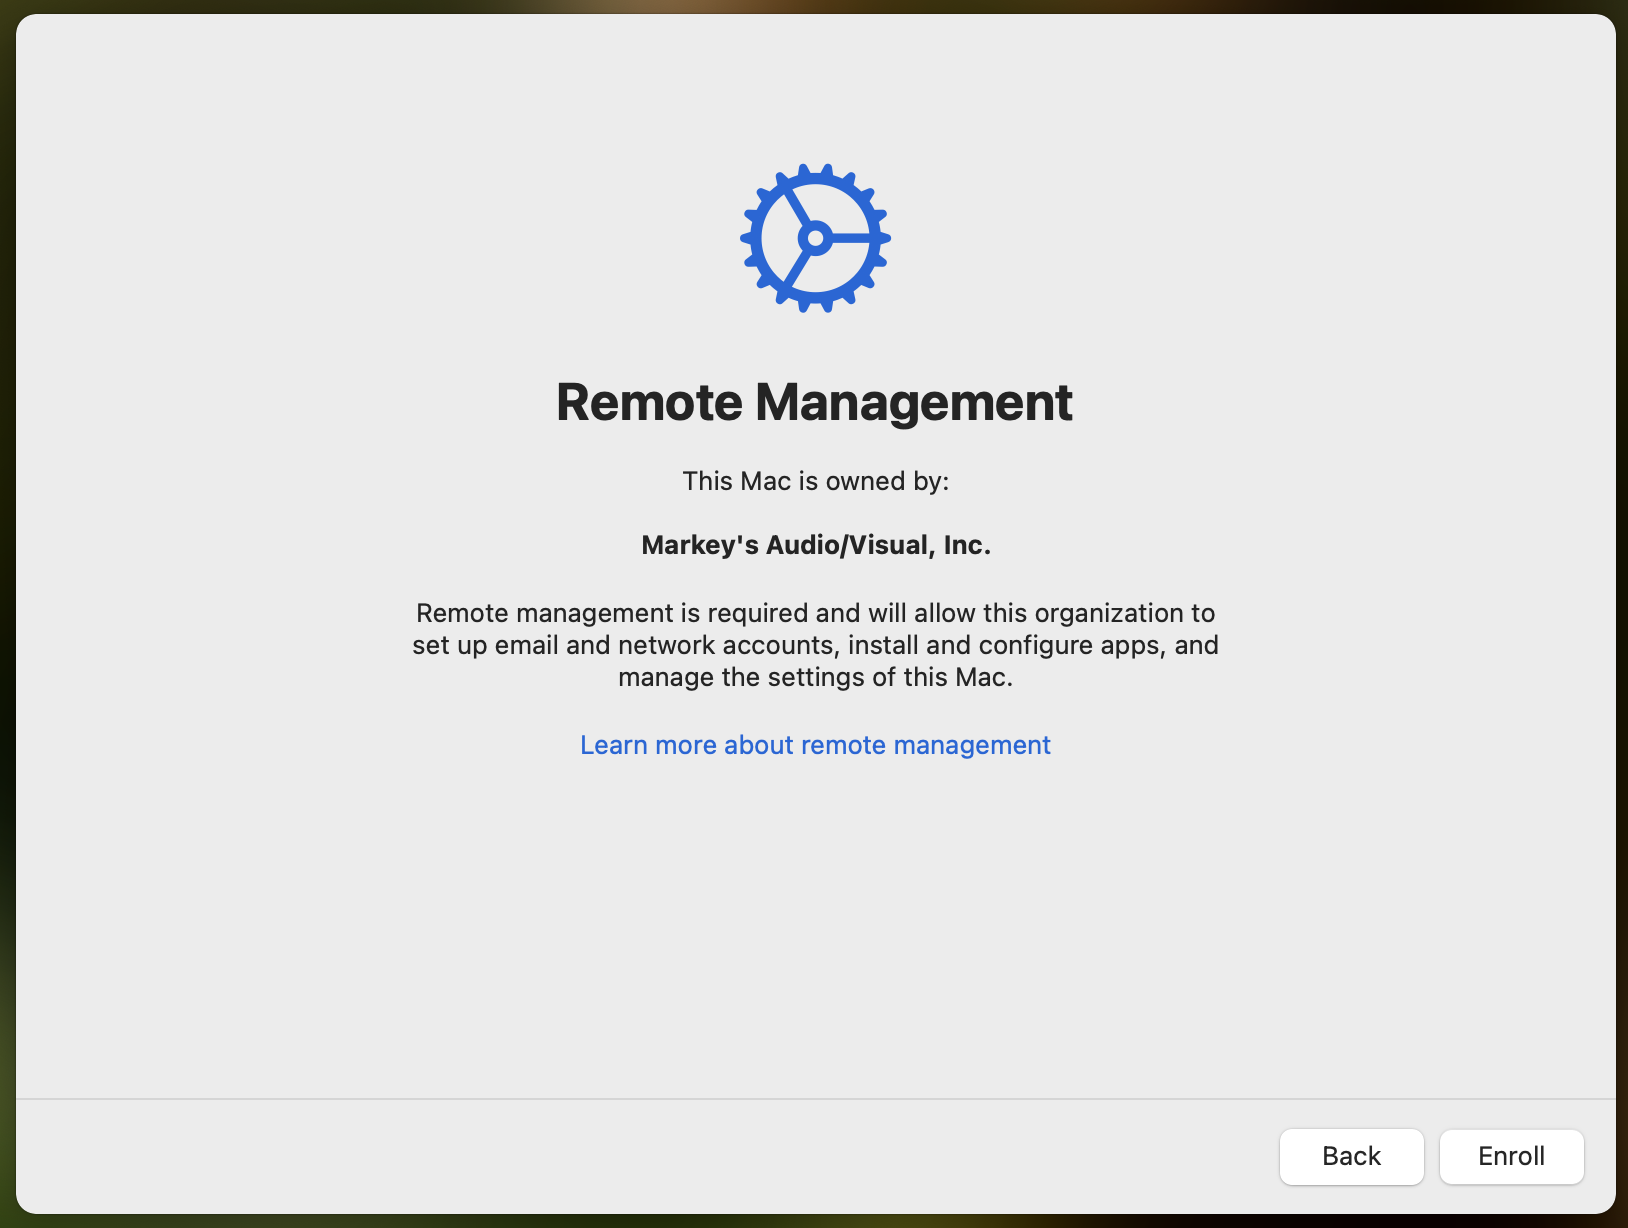
Select your language, select your country, and select Set up as new. On the next screen, you should see a message saying that the Mac is owned by Markey's. Go ahead and enroll the device.
The next screen asks you to create a user. DO NOT create a user, but let it sit on this screen for about 30 seconds as it downloads some management stuff in the background. After letting it sit for a bit, press ⌘-Q to cancel setup and shut down the computer. Watch the power indicator light on the charging cable and wait for it to turn off and back on again before continuing to the next step.
Boot to Recovery Mode.
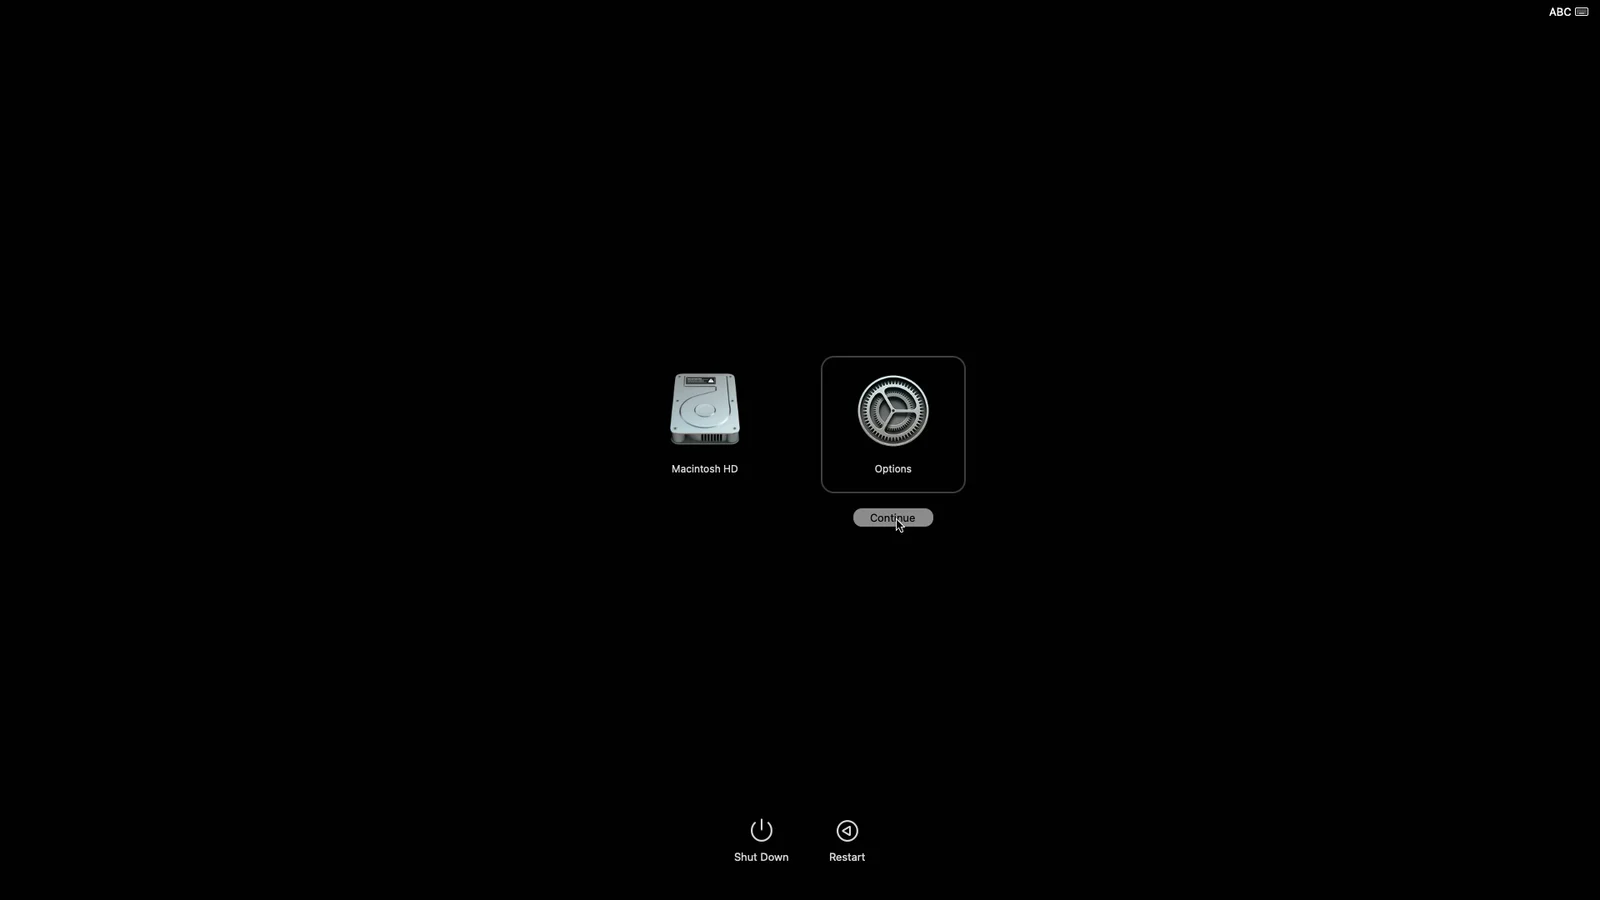
Start holding the power button. You will see a message that says Keep holding for startup options for a few seconds, then you will see Loading startup options.... Let go of the power button as soon as you see the second message. If you don't hold the button long enough, the Mac boots normally instead of giving you the options. If you hold the power button too long, the Mac shuts down.
You will then see a boot menu that should show Macintosh HD and Options. Click Options and then Continue. This will start the Mac in Recovery Mode.
Load our Mac image onto the machine.
Once you're booted to Recovery Mode, press Shift-⌘-T to open a Terminal window. We need to enter two commands here. Since the imaging server is running Windows, it cannot run the Mac imaging software; it can only store it and allow our MacBooks to access and run it.
Connect to the Imaging Server
The first command connects the Mac to the imaging software on the imaging server. This command is slightly different based on your site.
If you are imaging a MacBook that is not owned by the site where it is being imaged, please email helpdesk@markeys.com for assistance.
Columbus
hdiutil mount http://imaging-server.markeys-imaging.com:8088/columbus.dmgIndianapolis HQ
hdiutil mount http://imaging-server.markeys-imaging.com:8088/mbp.dmgSt. Louis
hdiutil mount http://imaging-server.markeys-imaging.com:8088/st-louis.dmgAll Other Sites that Have MacBooks
hdiutil mount http://imaging-server.markeys-imaging.com:8088/jamf.dmgIf your site does not own any MacBooks, then your imaging server is not set up to image MacBooks.
Run the Image
Type this second command into the Terminal and press Enter to run the imaging software:
/Volumes/mdsresources/runThis will open a utility called MDS Deploy, which is the software we use for Mac imaging.
At Indianapolis HQ, follow the prompts to select an image and enter the device name.
At this point, MDS Deploy will spend a couple minutes downloading the resources it needs to set up the Mac to our specifications. Once it has downloaded the necessary files, it will automatically reboot the Mac.
After the Mac reboots, you will see a plain gray login screen that appears not to be doing much of anything. Wait around five minutes, then type in Markey's as the user as markeys as the password. After signing in, you will see logs flashing across the screen. Wait for them to finish.
For Macs owned by Main in R2, there will be a folder on the desktop labeled <your image> Profiles. This contains more steps that need to be completed. For Macs owned by outer offices, MDM automates this step. Follow this guide from Apple to install the .mobileconfig files. Where that guide says to download the file, double-click the .mobileconfig file in the desktop folder instead. You can delete the folder from the desktop and empty the trash once all the additional steps inside it are done.
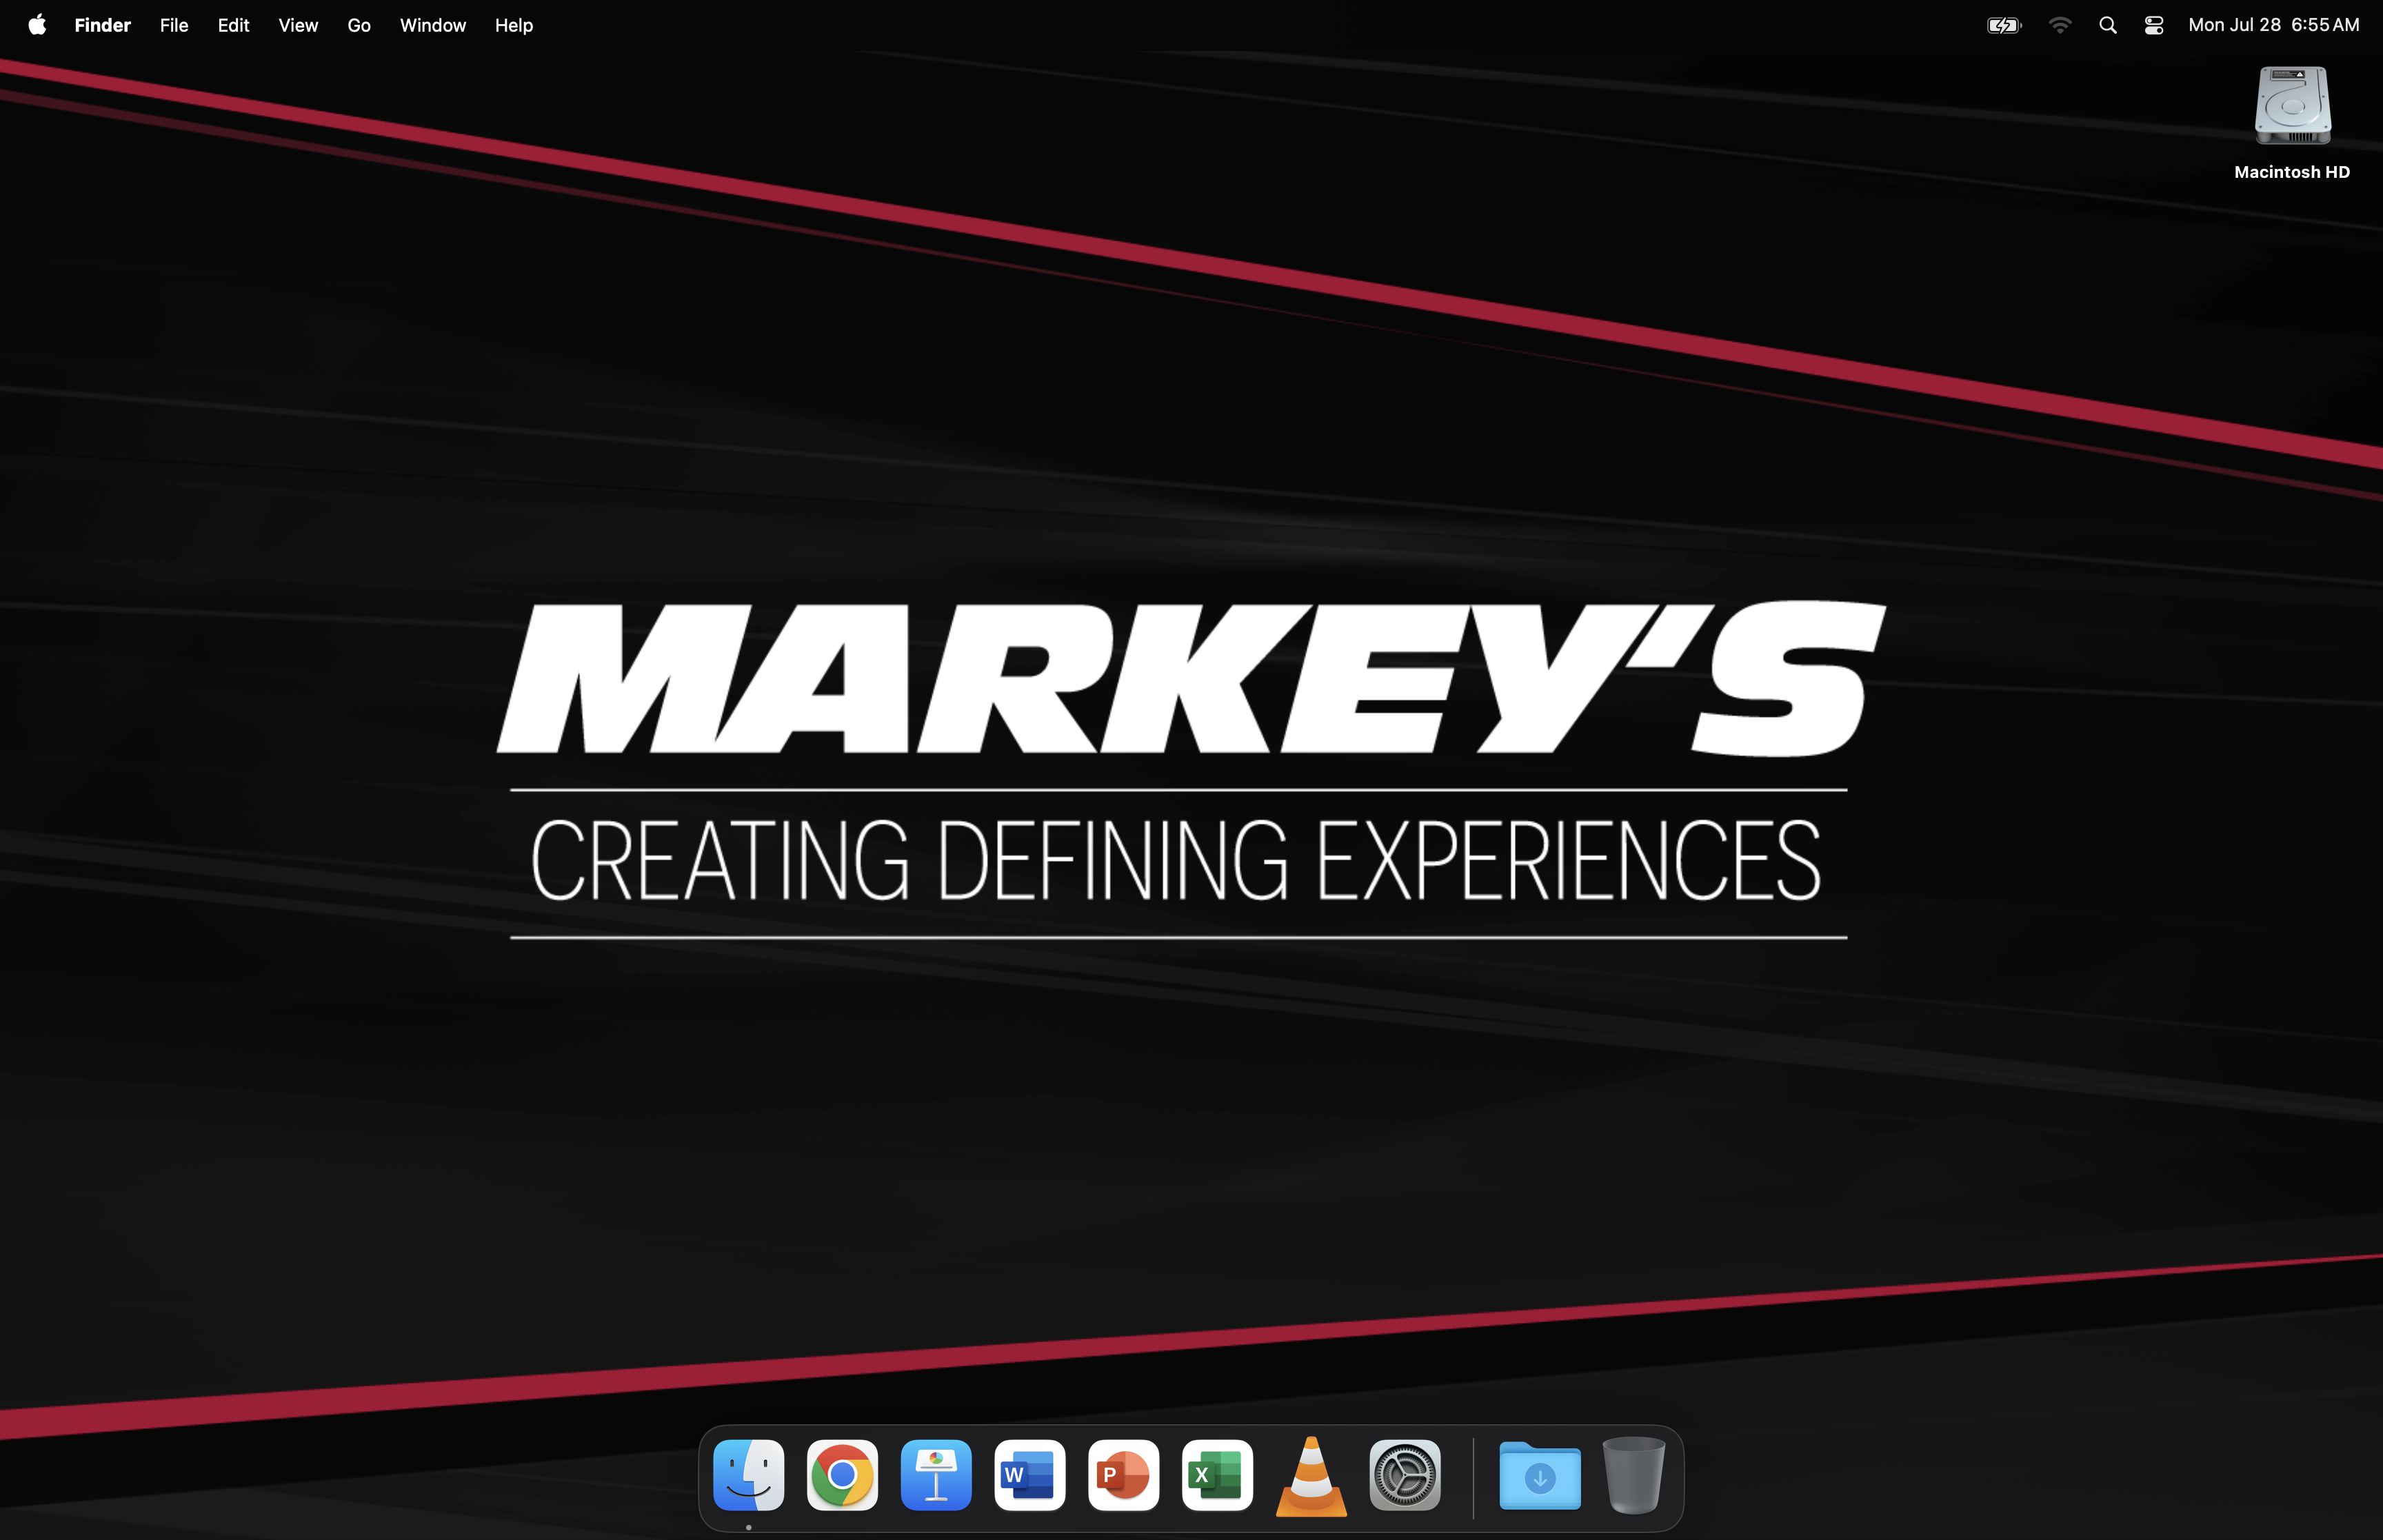
Do a quick visual double-check. If you see the Markey's background and the dock at the bottom matching the image below, then you're done. If what you see does not match the image below, first simply try rebooting the Mac again. If it still doesn't match, contact helpdesk@markeys.com for assistance.
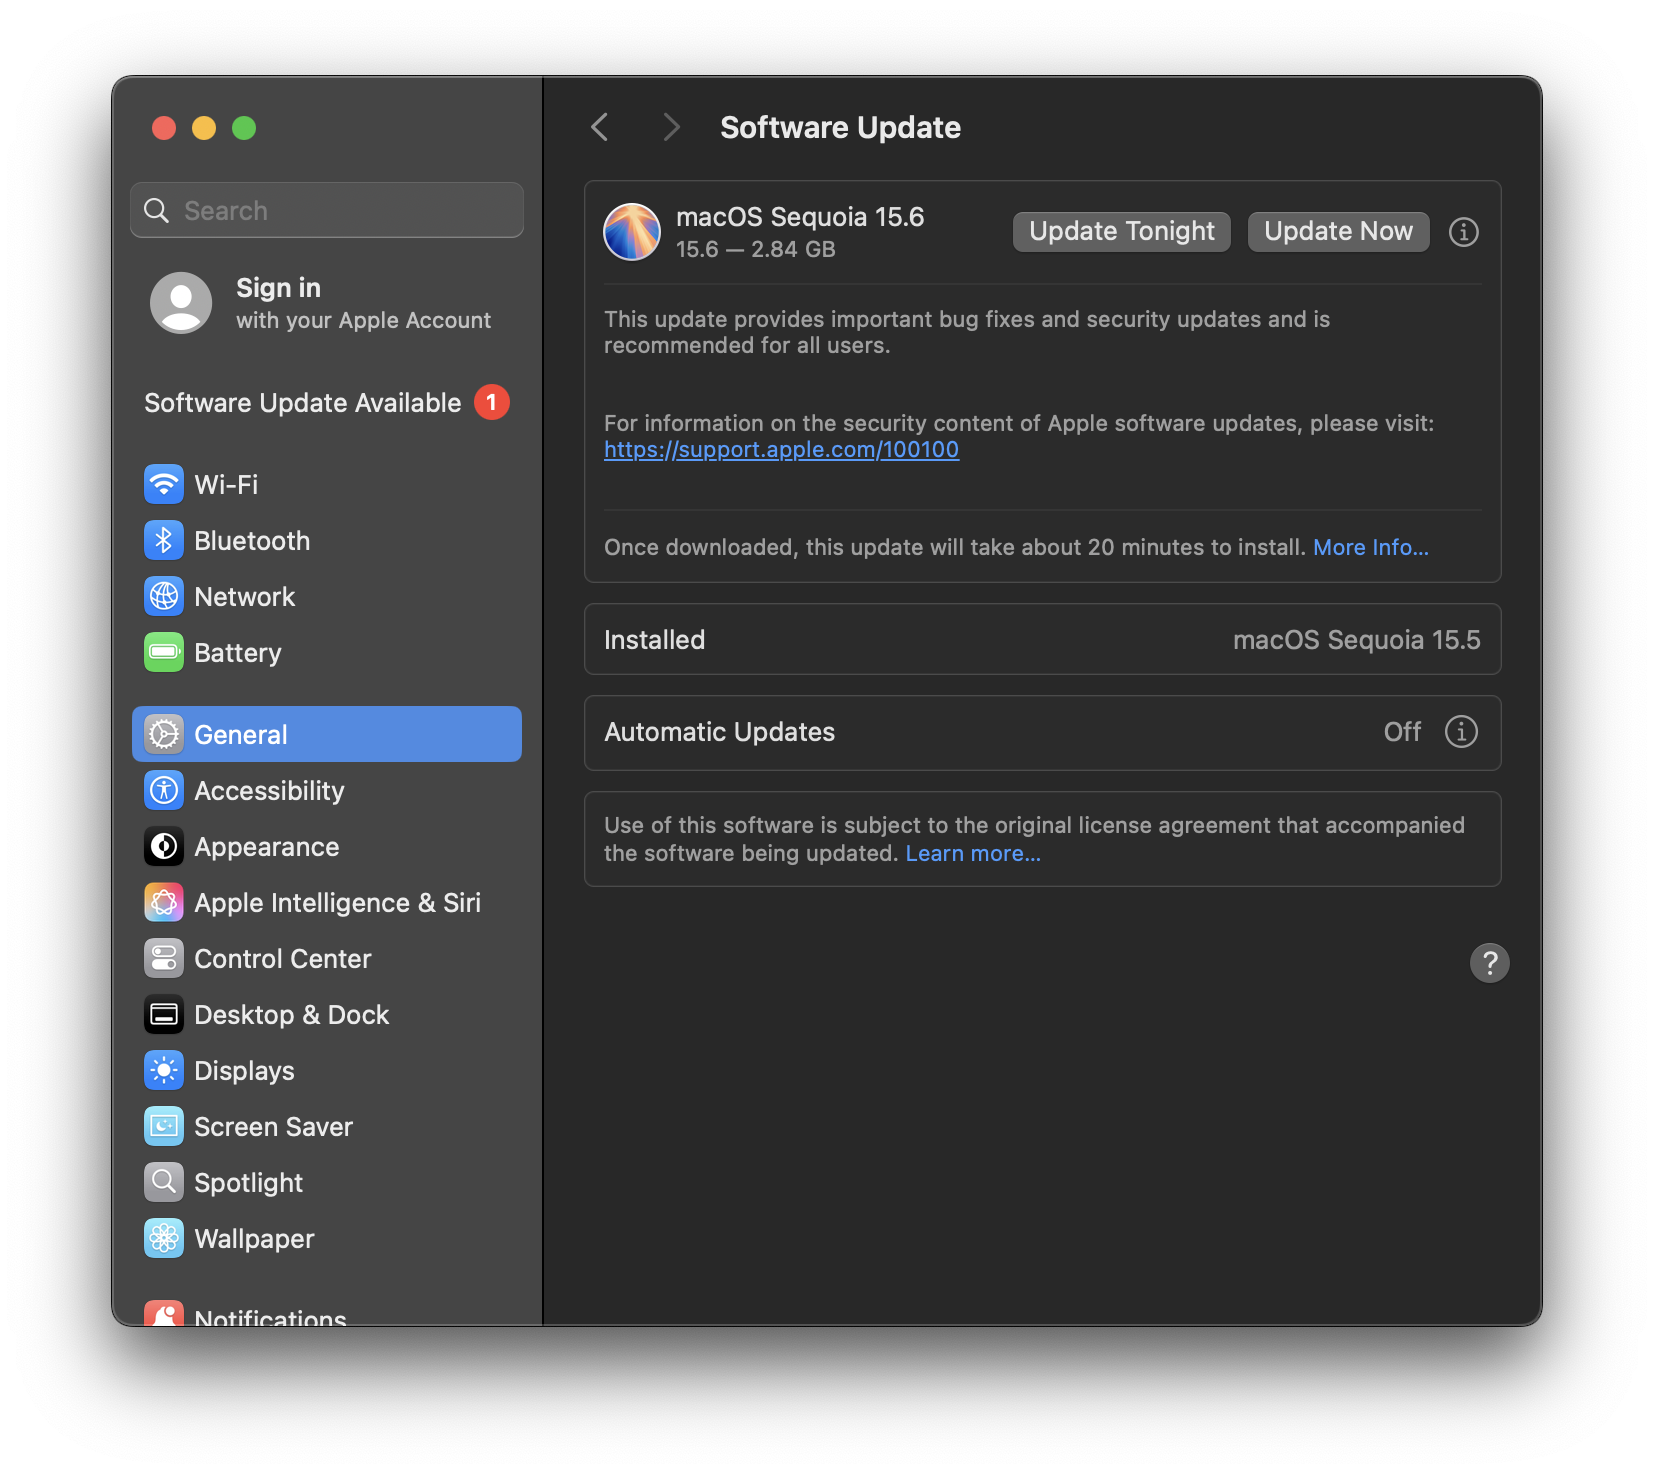
Check for Updates
Unlike images for Lenovo laptops, the "images" for MacBooks only update apps and software. Images do not include updates for the base OS; those need to be handled separately. After completing the imaging process, if you have time and do not need this laptop immediately for a show, go to System Settings -> General -> Software Update and install any available updates.