Imaging server setup
Imaging Server
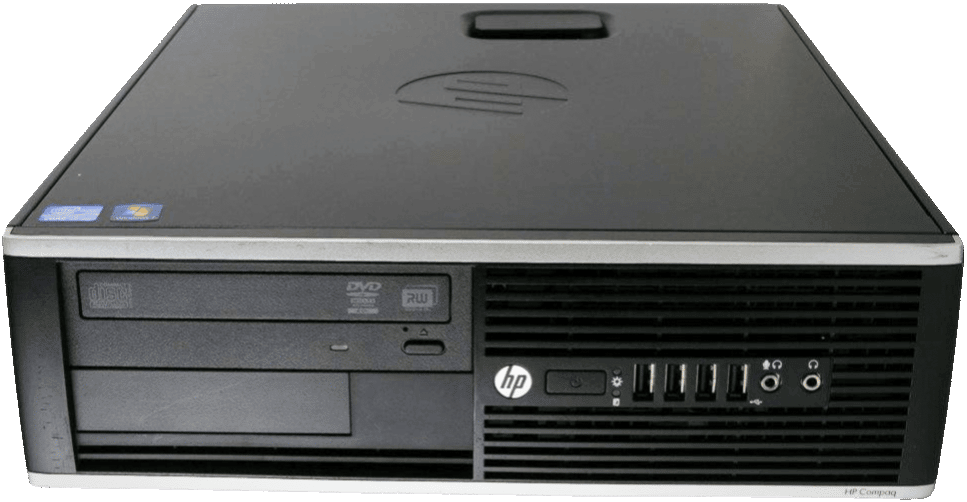
The imaging server runs the software that actually images the laptops. You will need a monitor, keyboard, and mouse attached to this machine so you can log in and do your imaging. Notice that this machine has a DisplayPort rather than HDMI video output.
Your imaging server is set up to download image updates and perform various health checks overnight every day. This is not a machine that should be shut down and disconnected when not in use; this machine should be powered on and have internet access basically 24/7. Event IT also occasionally needs to remote into imaging servers once in a while to perform fixes, adjustments, or maintenance.
Imaging Router
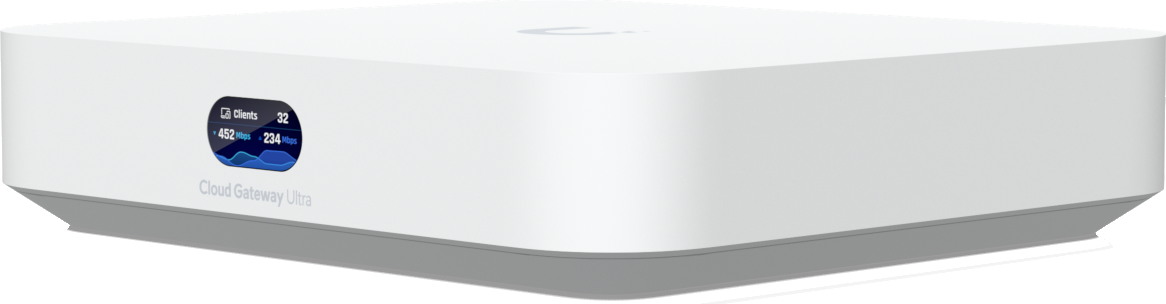
All imaging server setups include a Unifi imaging router that is labeled <Your Location> Imaging Router. This router has specific configurations that are necessary for the whole imaging process to take place. Event IT also has remote access to these routers, which can help diagnosing and fixing issues related to imaging.
Connections
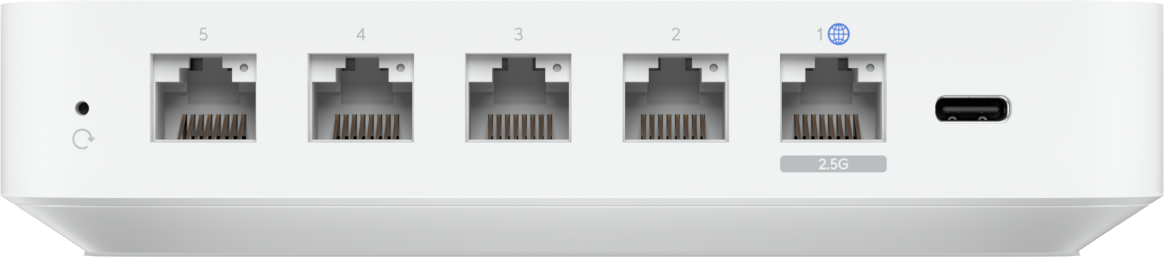
On the back of the imaging router, there are five ethernet ports, one of which is labeled with a blue globe icon (🌐). This one is called the WAN (Wide Area Network) port, and the other four are LAN (Local Area Network) ports. Think of this router as a sort of "gateway". Anything connected to the WAN port is outside the imaging network, and anything connected to the LAN ports is inside the imaging network. The router's job is to help decide how inside and outside devices are allowed to communicate with each other.
A wired internet connection from the building should be connected to the WAN port. This needs to be a connection without anything like a splash page or login screen. The imaging server and any laptops being imaged can be connected to any of the LAN ports.