Part 1 - Same for all MacBooks
Connect all the things.
Connect the MacBook to power and to the imaging network using the USB-C to USB/Ethernet adapter that lives in the laptop case with the MacBook.
At Indianapolis HQ, the USB-C to 2.5GbE adapters can be used for the network connection, but the adapter that lives with the MacBook should be connected to the laptop as well.
Boot to Recovery Mode.
MacBooks have the "feature" of powering on as soon as you open the lid, but the steps given here still work if you're quick. Read on before opening the lid.
Immediately after you open the lid, start holding the power button. You will see a message that says Keep holding for startup options for a few seconds, then you will see Loading startup options.... Let go of the power button as soon as you see the second message. If you don't hold the button long enough, the Mac boots normally instead of giving you the options. If you hold the power button too long, the Mac shuts down.
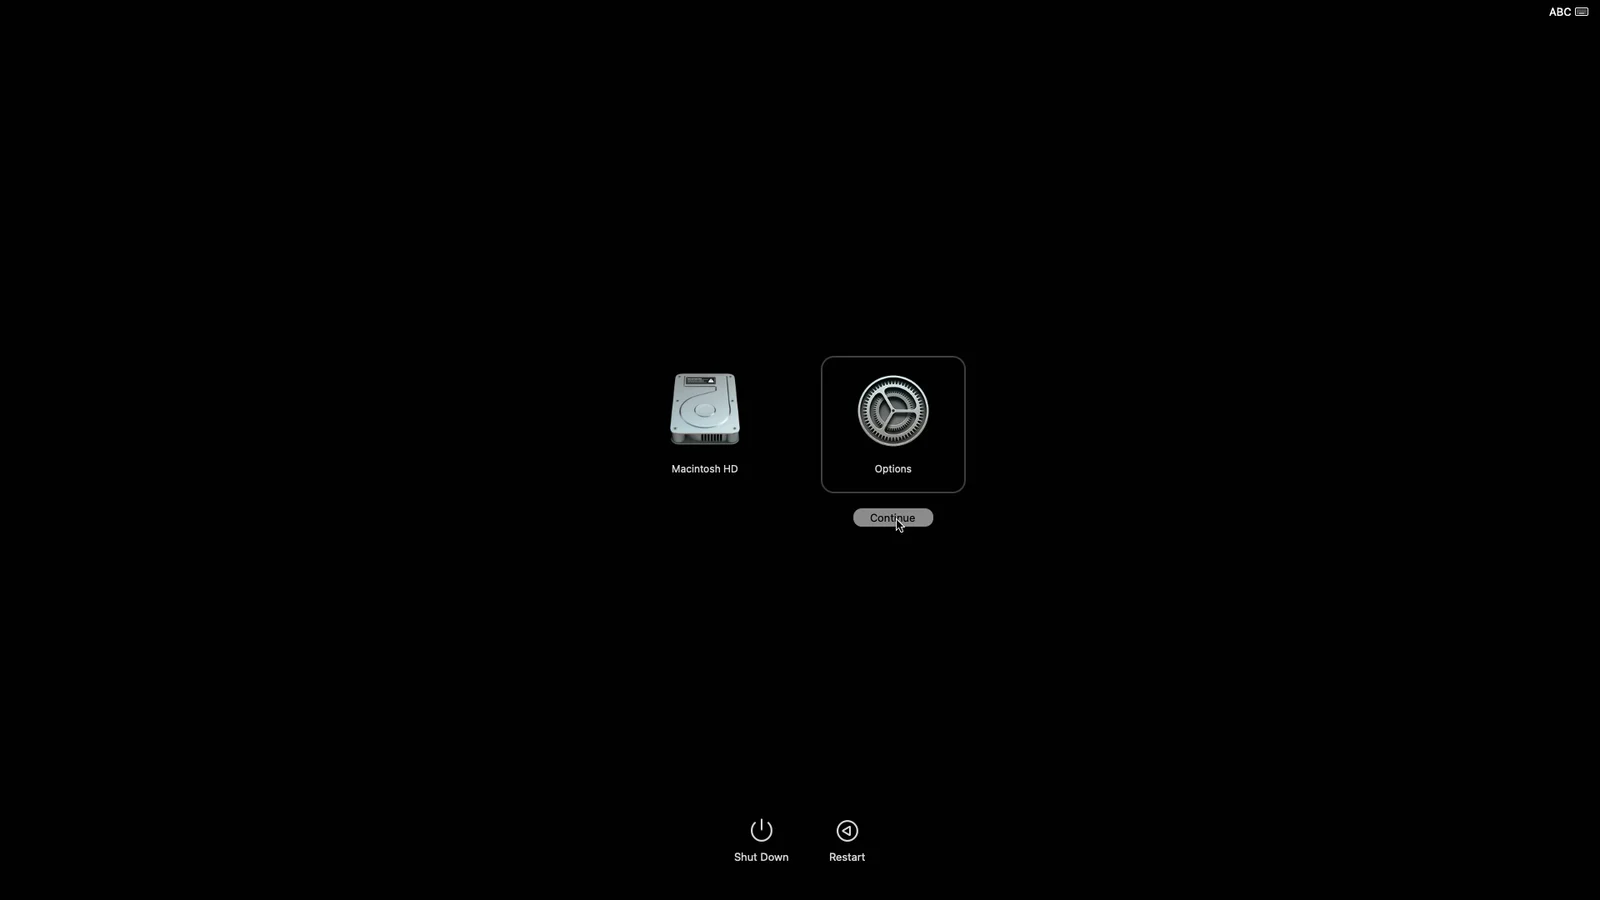
You will then see a boot menu that should show Macintosh HD and Options. Click Options and then Continue. This will start the Mac in Recovery Mode.
Wipe the MacBook's internal drive.
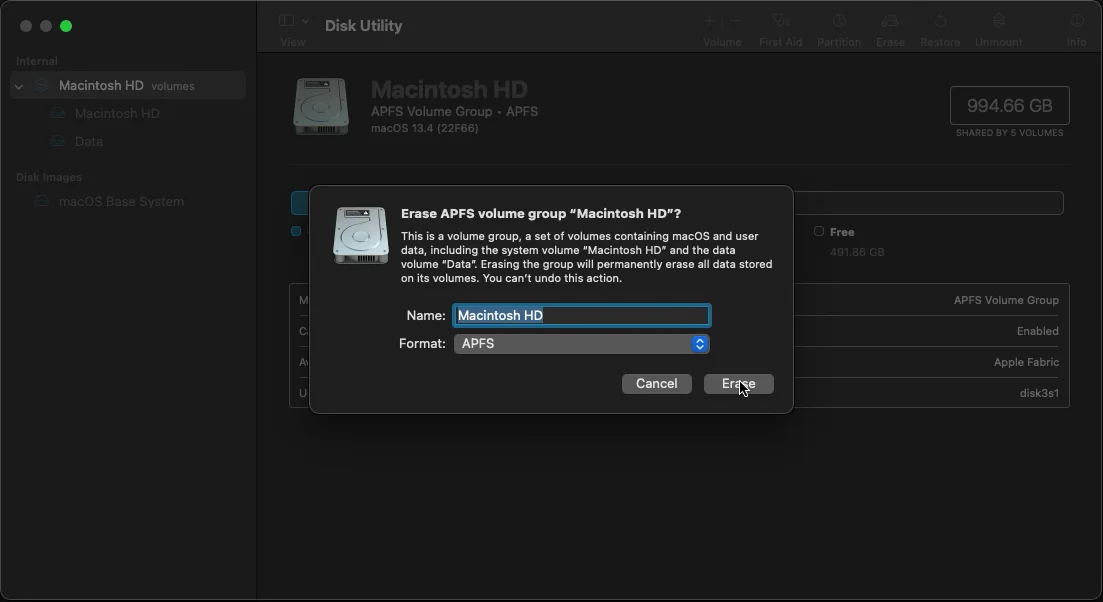
Open Disk Utility, select Macintosh HD in the left sidebar, then click Erase in the top-right corner. Name the disk Macintosh HD and format it to APFS.
Macintosh HD and APFS should be the default options in this window; we're just double-checking them.
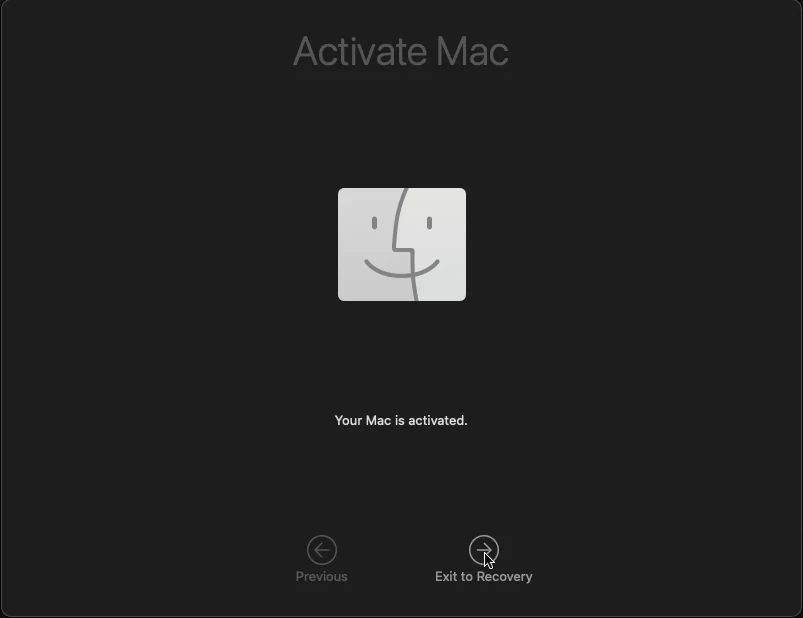
You will need to click through a few confirmation pop-ups, then the computer will reboot. Once you see a message saying Your Mac is activated., click Exit to Recovery to go back to Recovery Mode again.
Load our Mac image onto the machine.
Once the Mac is wiped and you're back to Recovery Mode again, press Shift-⌘-T to open a Terminal window. We need to enter two commands here.
The first command connects the Mac to the imaging software on the imaging server. Type this command into the Terminal and then press Enter:
hdiutil mount http://imaging-server.markeys-imaging.com:8088/jamf.dmg
/Volumes/mdsresources/run
At Indianapolis HQ, replace jamf.dmg with mbp.dmg in this command.
Since the imaging server is running Windows, it cannot run the Mac imaging software; it can only store it and allow our MacBooks to access and run it. Type this second command into the Terminal and press Enter to run the imaging software:
/Volumes/mdsresources/runThis will open a utility called MDS Deploy, which is the software we use for Mac imaging.
At here,Indianapolis HQ, follow the processprompts to select an image and enter the device name.
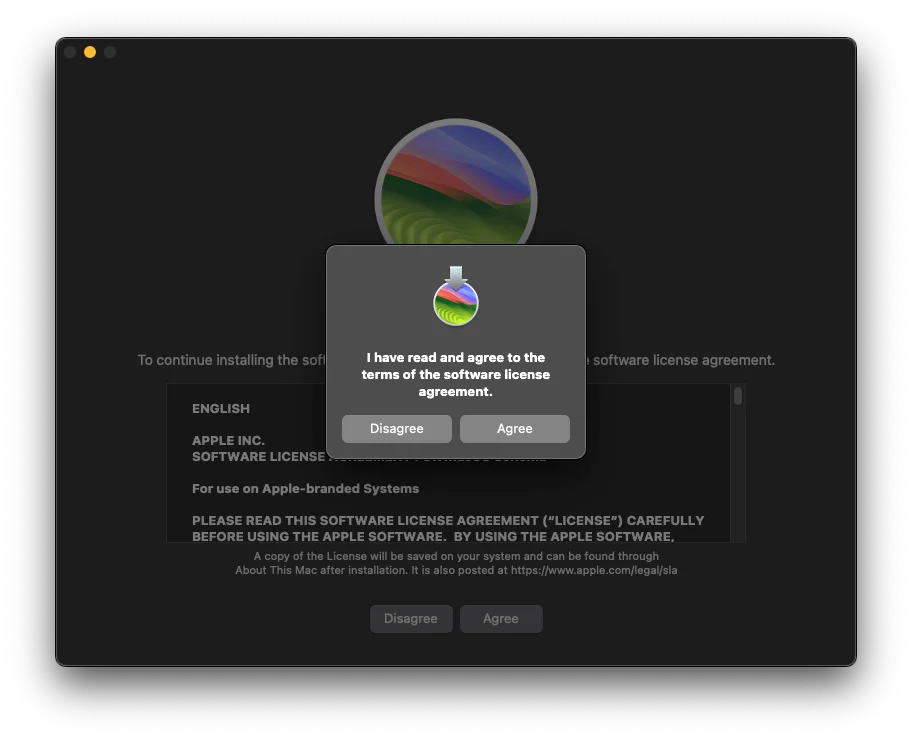
At this point, MDS Deploy will spend a couple minutes downloading the resources it needs from the imaging server to the Mac. When it is different depending on whetherready, you havewill see a prompt to open a MacOS installer. Agree, OK, and Continue your way through the prompts.
The Mac fromwill reboot a few times during its setup. Once you see a Markey's-branded desktop, you're done.
At Indianapolis HQHQ, oryou're anothernot office.actually done; a couple more steps are needed. See details here.


