How to Image a MacBook
Connect all the things.
Connect the MacBook to power and to the imaging network using the USB-C to USB/Ethernet adapter that lives in the laptop case with the MacBook.
At Indianapolis HQ, the USB-C to 2.5GbE adapters can be used for the network connection, but the adapter that lives with the MacBook should be connected to the laptop as well.
Erase All Content & Settings
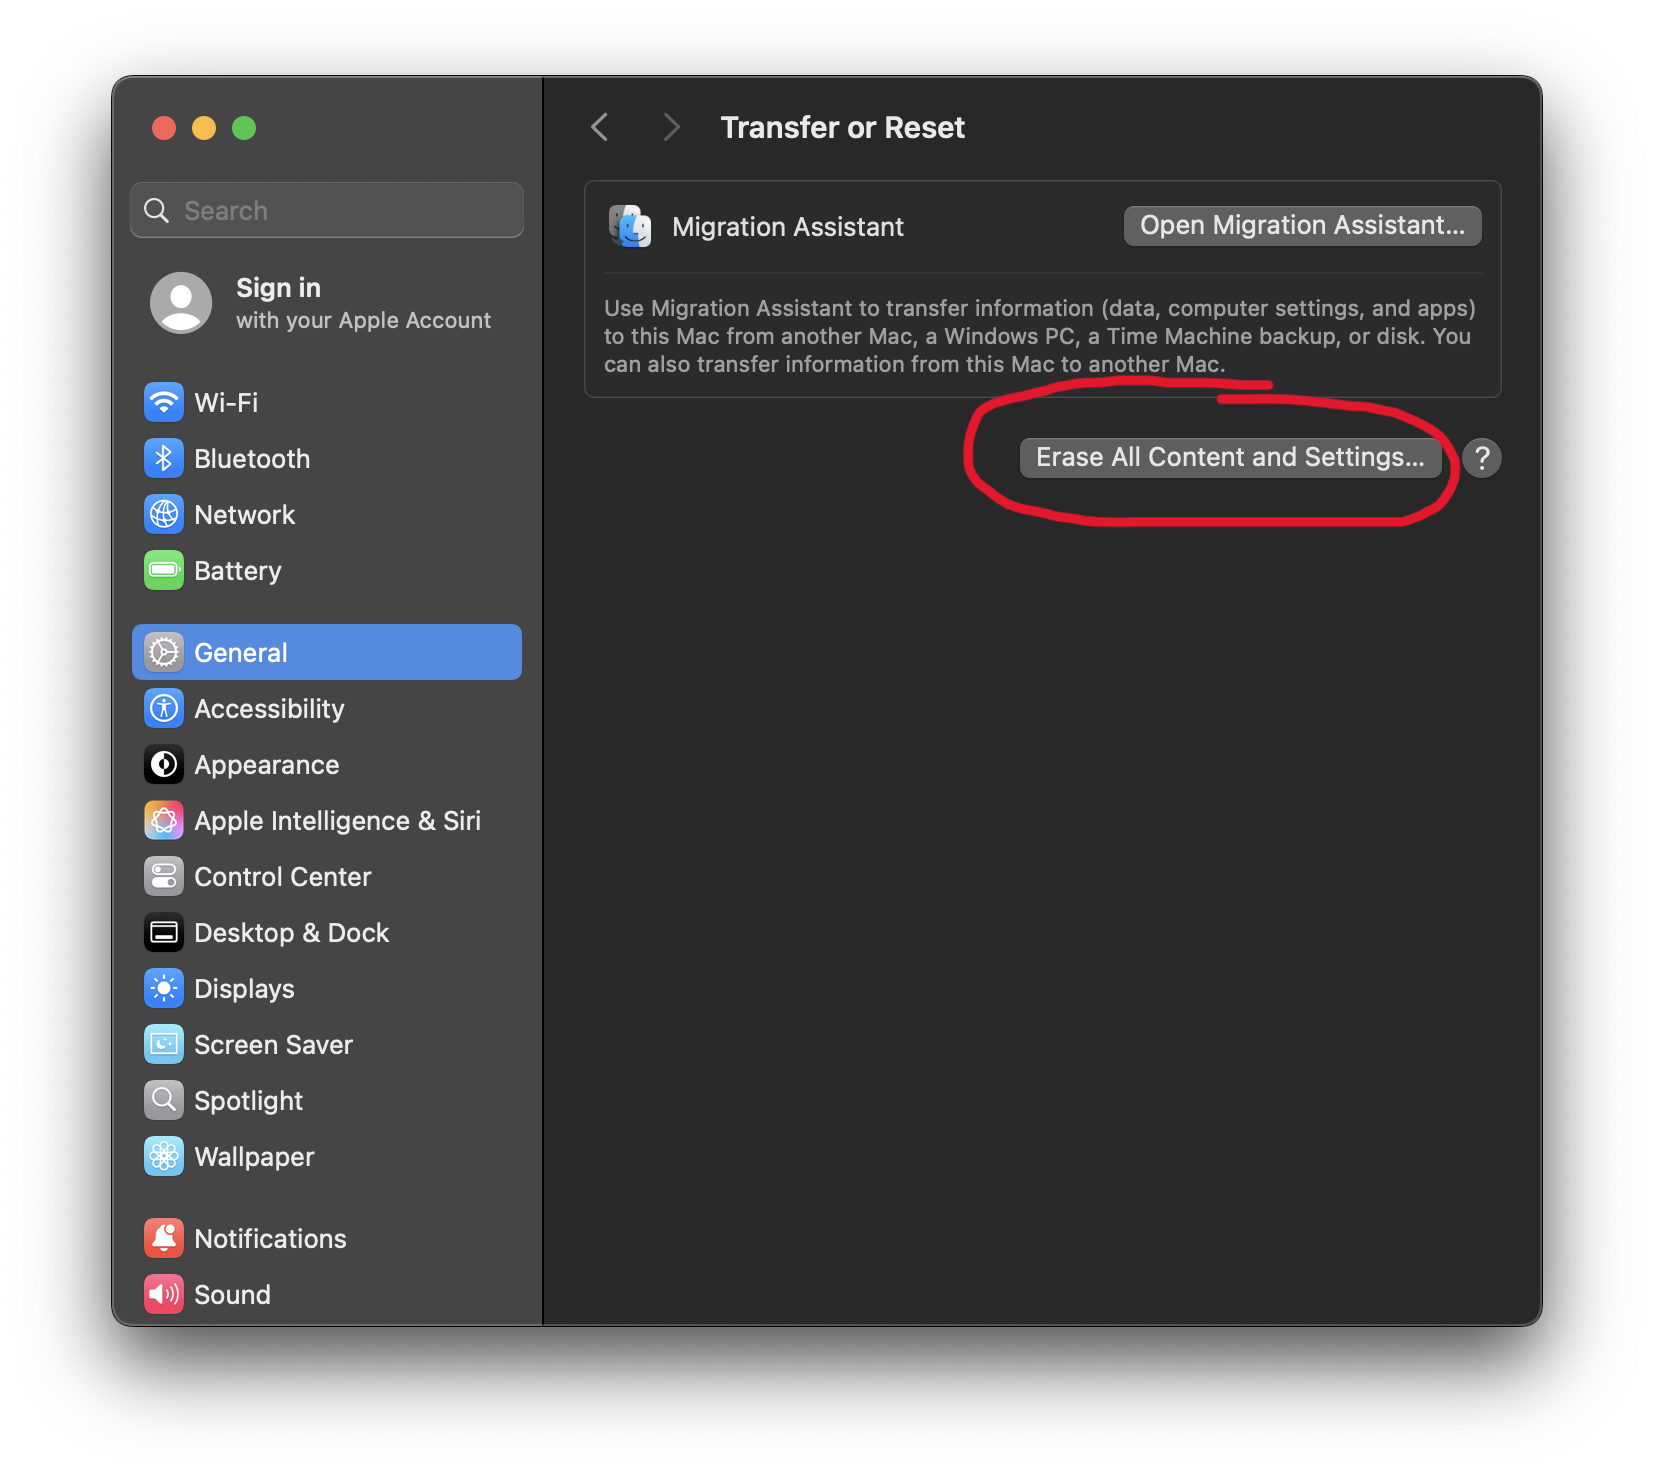
Turn on the MacBook normally and sign in if it doesn't sign you in automatically. Go to System Settings, General (should be the default), scroll all the way down and click Transfer or Reset, and then click Erase All Content & Settings and confirm.
If you do not see this option in this location, please contact helpdesk@markeys.com for assistance. You may be running a different version of Mac OS that may require a different imaging process.
The Mac will reboot to an activation screen, then reboot again to normal "new Mac" setup.
Go partway through normal setup.
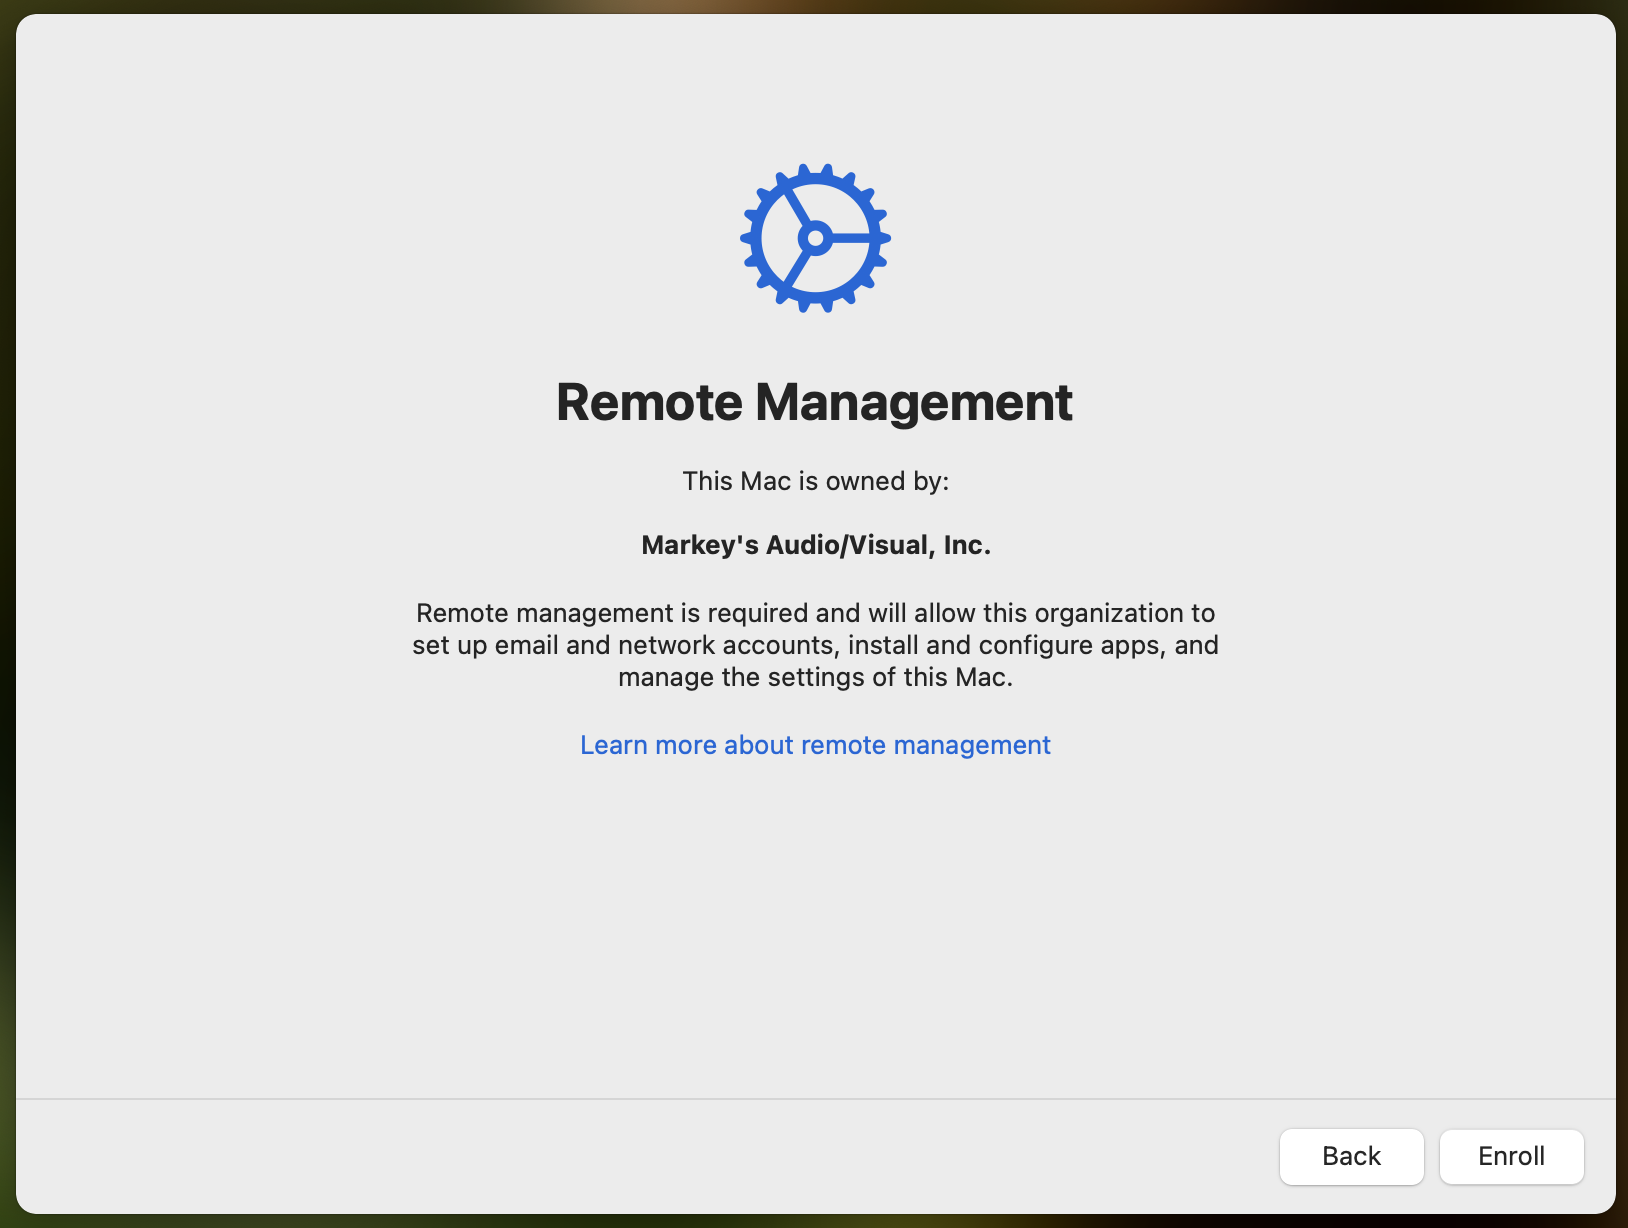
Select your language, select your country, and select Set up as new. On the next screen, you should see a message saying that the Mac is owned by Markey's. Go ahead and enroll the device.
The next screen asks you to create a user. DO NOT create a user; this is as far as we go through normal setup. At this point, press ⌘-Q to cancel setup and shut down the computer. Watch the power indicator light on the charging cable and wait for it to turn off and back on again before continuing to the next step.
Boot to Recovery Mode.
MacBooks have the "feature" of powering on as soon as you open the lid, but the steps given here still work if you're quick. Read on before opening the lid.
Immediately after you open the lid, startStart holding the power button. You will see a message that says Keep holding for startup options for a few seconds, then you will see Loading startup options.... Let go of the power button as soon as you see the second message. If you don't hold the button long enough, the Mac boots normally instead of giving you the options. If you hold the power button too long, the Mac shuts down.
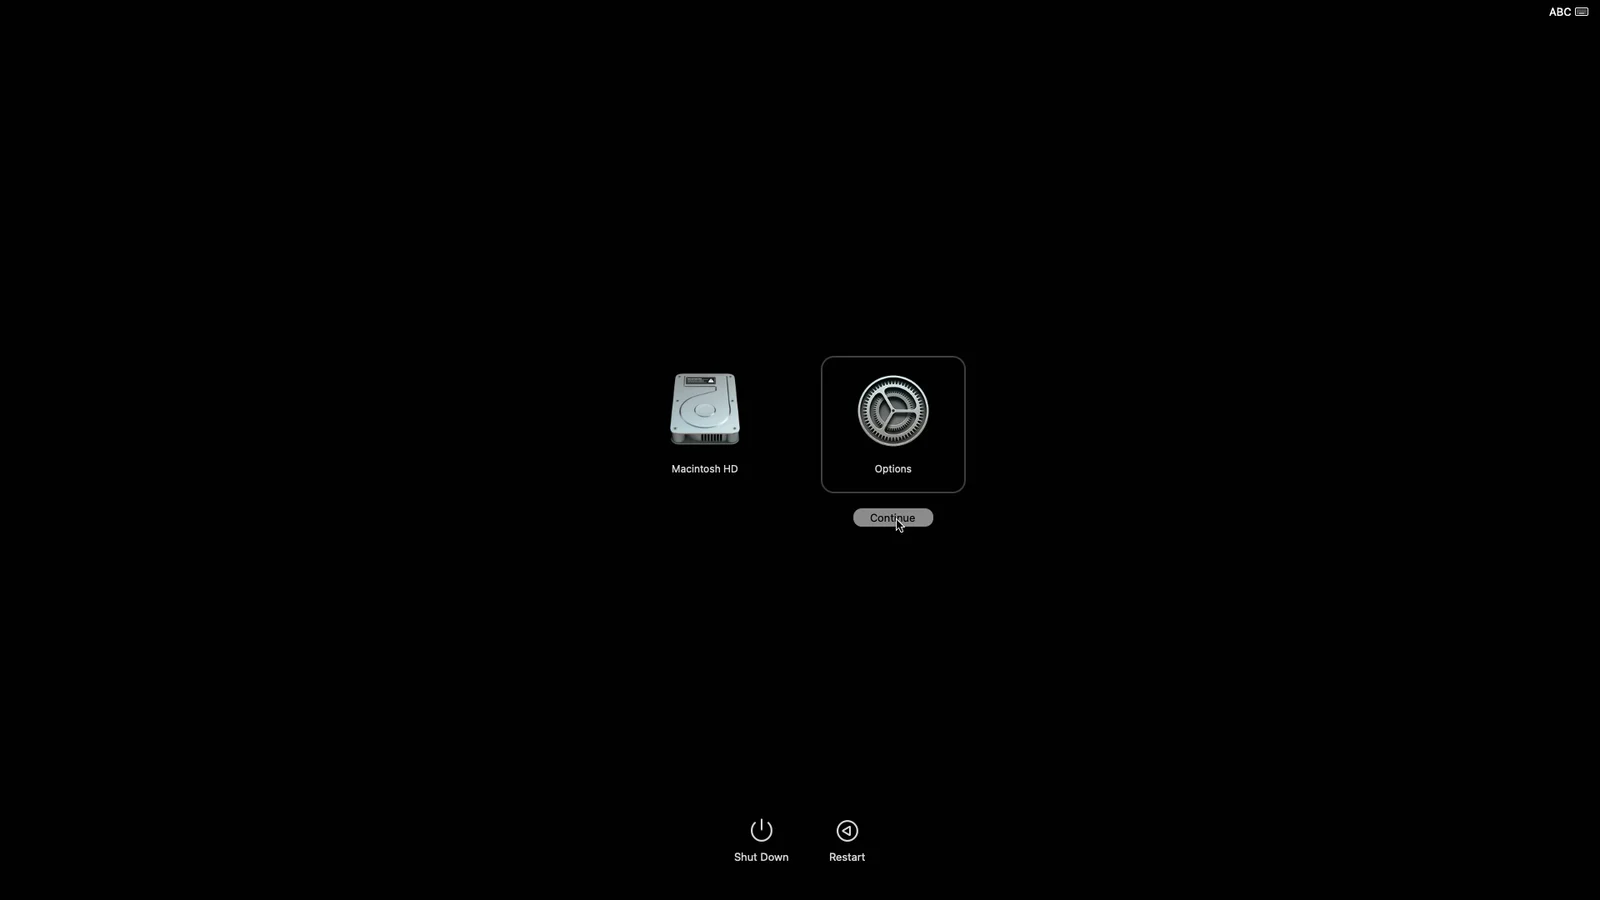
You will then see a boot menu that should show Macintosh HD and Options. Click Options and then Continue. This will start the Mac in Recovery Mode.
Wipe the MacBook's internal drive.
Open Disk Utility, select Macintosh HD in the left sidebar, then click Erase in the top-right corner. Name the disk Macintosh HD and format it to APFS.
Macintosh HD and APFS should be the default options in this window; we're just double-checking them.
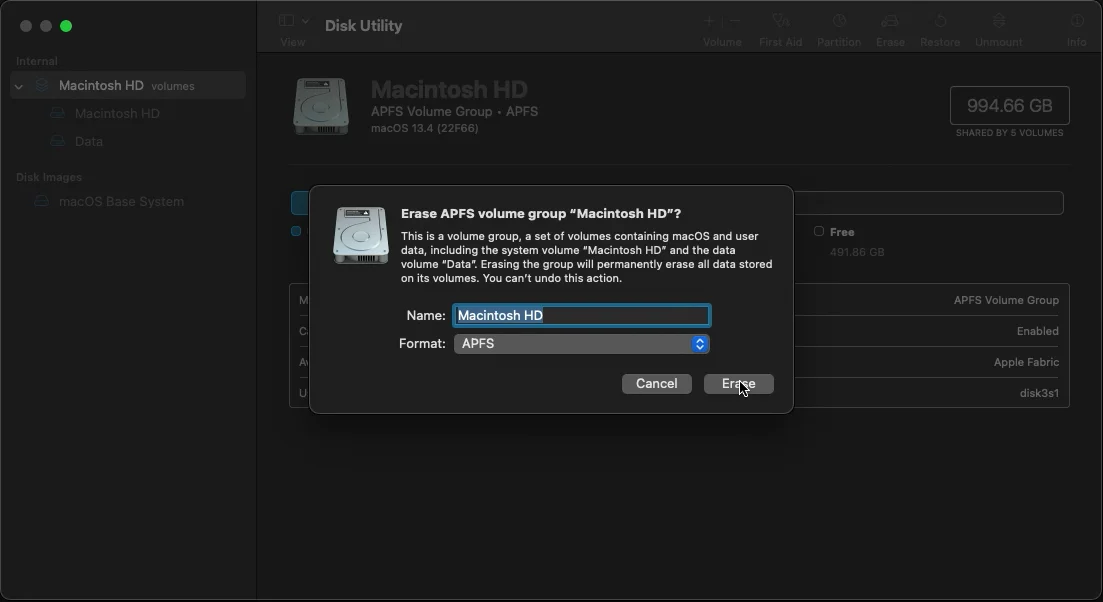
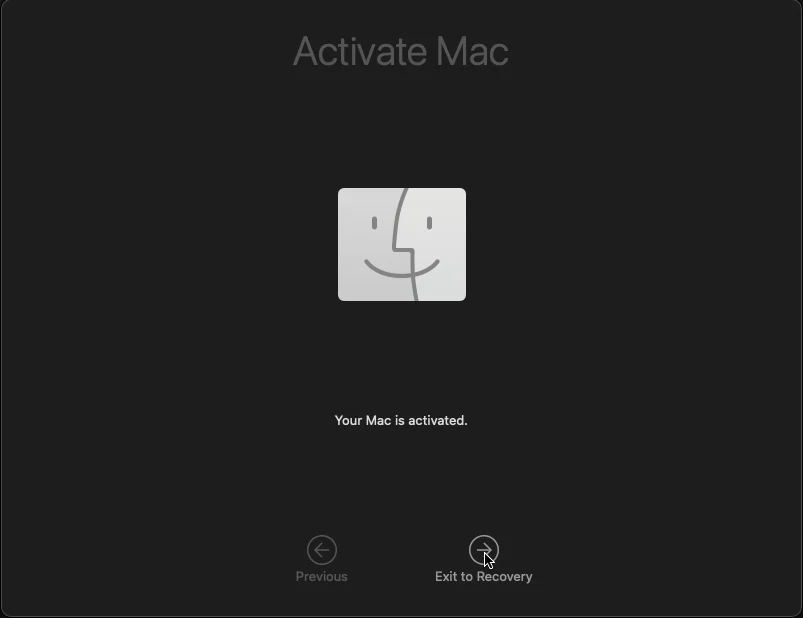
You will need to click through a few confirmation pop-ups, then the computer will reboot. Once you see a message saying Your Mac is activated., click Exit to Recovery to go back to Recovery Mode again.
Load our Mac image onto the machine.
Once the Mac is wiped and you're backbooted to Recovery Mode again,Mode, press Shift-⌘-T to open a Terminal window. We need to enter two commands here.
The first command connects the Mac to the imaging software on the imaging server. Type this command into the Terminal and then press Enter:
hdiutil mount http://imaging-server.markeys-imaging.com:8088/jamf.dmgAt Indianapolis HQ, replace jamf.dmg with mbp.dmg in this command.
At Columbus, replace jamf.dmg with pbp.dmg in this command.
Since the imaging server is running Windows, it cannot run the Mac imaging software; it can only store it and allow our MacBooks to access and run it. Type this second command into the Terminal and press Enter to run the imaging software:
/Volumes/mdsresources/runThis will open a utility called MDS Deploy, which is the software we use for Mac imaging.
At Indianapolis HQ, follow the prompts to select an image and enter the device name.
At this point, MDS Deploy will spend a couple minutes downloading the resources it needs fromto set up the imaging serverMac to our specifications. Once it has downloaded the necessary files, it will automatically reboot the Mac.
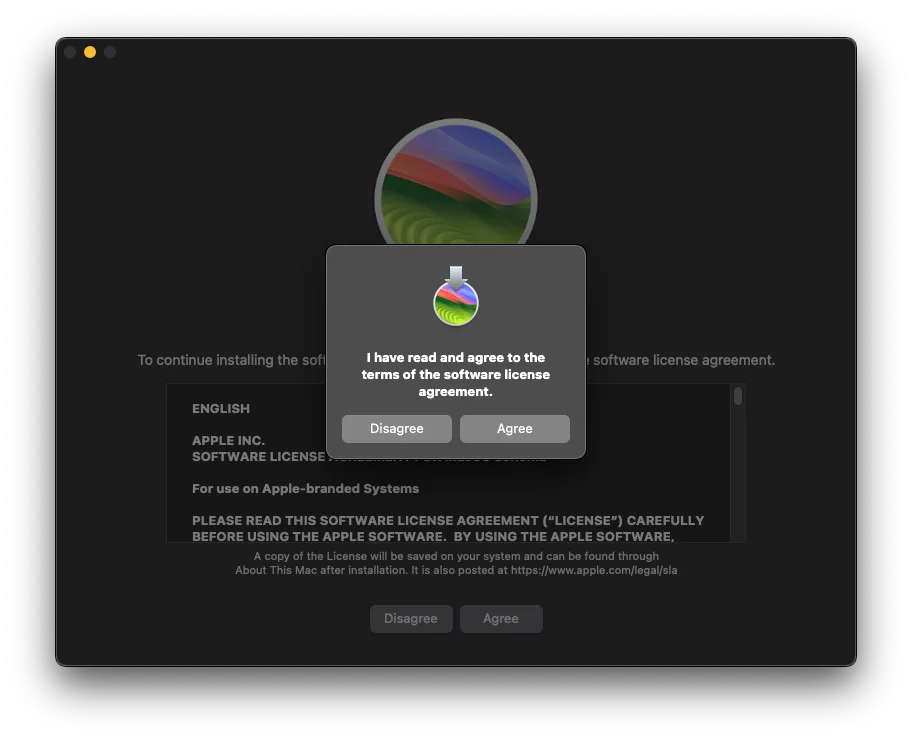
After itthe isMac ready,reboots, you will see a promptplain gray screen that appears not to openbe adoing MacOSmuch installer.of Agree,anything. OK,Wait andabout Continue3-5 yourminutes, waythen throughuse the prompts.
On some newer or recently updated MacBooks, opening the MacOS installer apparently causes MDS to crash, leaving a messageicon in the Terminaltop-right sayingcorner thatto allreboot. volumesThis havetime, beenit unmounted.should automatically sign in and you will see logs flashing across the screen. Wait for them to finish and close, then reboot again.
Do a quick visual double-check. If you see thisthe message,Markey's pressbackground ⌘-Q to quitand the Terminal,dock at the bottom matching the image below, then open Install MacOS from Recovery Mode's home screen. The Mac will reboot and show a plain gray screen with a login prompt; leave it alone and let it do its thing. The proper steps are happening in the background; you just don't get any visual feedback. When the computer is ready, it will automatically reboot again, at which point imaging should beyou're done.
The Mac will reboot a few times during its setup. Oncewhat you see adoes Markey's-brandednot desktop,match you'rethe done.image below, first simply try rebooting the Mac again. If it still doesn't match, contact helpdesk@markeys.com for assistance.
At Indianapolis HQ, you're not actually done; a couple more steps are needed. See details here.